Tired of heat styling damage? Air drying offers a gentler, healthier alternative for gorgeous, natural-looking hair. But ditching the hairdryer isn't as simple as letting your hair air dry; it requires understanding your unique hair type and using the right techniques. This guide will empower you to achieve beautiful, healthy air-dried hair, tailored to your specific needs.
Understanding Your Hair's Unique Needs
Before you begin your air-drying journey, you need to understand your hair's individual characteristics. This goes beyond simply knowing if your hair is straight, wavy, curly, or coily. Three key factors significantly influence your air-drying success:
Porosity: This refers to your hair's ability to absorb and retain moisture. High porosity hair (like a sponge) absorbs moisture quickly but loses it just as fast, leading to dryness and frizz. Low porosity hair (like a raincoat) resists moisture, making it harder to hydrate. Understanding your porosity helps you select the right products.
Thickness/Density: Thick hair takes considerably longer to air dry than fine hair. This impacts your drying time and the techniques you'll need to employ.
Texture/Curl Pattern: Your hair's texture—straight, wavy, curly, or coily—directly influences how it dries and the styling techniques that will most effectively enhance its natural beauty.
Understanding these three factors is crucial, as they dictate your hair’s unique response to air drying. Ignoring these nuances can lead to disappointing results. For example, applying a heavy cream to high-porosity hair might weigh it down, while neglecting hydration in low-porosity hair can result in dryness.
The Air-Drying Process: A Step-by-Step Guide
This step-by-step guide will walk you through the process, focusing on techniques to minimize damage and maximize your hair's natural beauty.
Step 1: Pre-Wash Preparation (Optional): If you have hard water (water high in mineral content), a clarifying shampoo once a week removes mineral buildup that interferes with styling products and can leave your hair feeling dull. Dr. Amy McMichael, dermatologist at Duke University, recommends clarifying shampoos for individuals experiencing hard water related hair issues.
Step 2: Wash and Condition: Use a moisturizing shampoo and conditioner formulated for your hair type and porosity. Avoid sulfates and silicones which can strip your hair of natural oils.
Step 3: Gentle Towel Drying: Instead of vigorously rubbing your hair with a towel, gently squeeze out excess water using a microfiber towel or a soft, old t-shirt. This minimizes breakage and frizz. A microfiber towel absorbs significantly more water than a traditional towel, speeding up drying time and reducing manipulation.
Step 4: Product Power-Up: Apply a leave-in conditioner, curl cream, or hair oil tailored to your hair type and porosity. These products add moisture, combat frizz, and define your curls or waves, providing vital protection during the air-drying process.
Step 5: Protective Air Drying: Keep your hair away from direct sunlight which can cause dryness and damage. A cool, shaded area is ideal. For longer hair, consider loosely braiding it or using the "plopping" method (wrapping your hair in a microfiber towel). This shaping technique helps enhance curl formation.
Troubleshooting Common Air-Drying Challenges
Even with careful preparation, challenges can arise. Here's how to tackle common issues:
Frizz: Frizz often indicates dry hair. Increase your moisturizing product use (leave-in conditioner, serum). Adjust the amount based on your porosity - high porosity will require more. Consider anti-frizz serums, especially in humid conditions.
Slow Drying Times: This is common with thick hair. Thoroughly remove excess water using a microfiber towel. Plopping or loosely braiding can accelerate drying. A low-heat diffuser (used sparingly) can assist but always with a heat protectant.
Hard Water Impact: If you live in a hard water area, a chelating shampoo (specifically designed to remove mineral deposits) is a crucial addition to your routine. This should be followed by your regular shampoo and conditioner.
Advanced Air-Drying Techniques
Ready to take your air-drying skills to the next level? Explore these techniques:
Plopping: Wrapping damp hair in a microfiber towel to define curls and speed up drying.
Braiding: Create soft waves or enhance your natural texture.
Low-Heat Diffusing (If Necessary): Use only a low heat setting with a heat protectant.
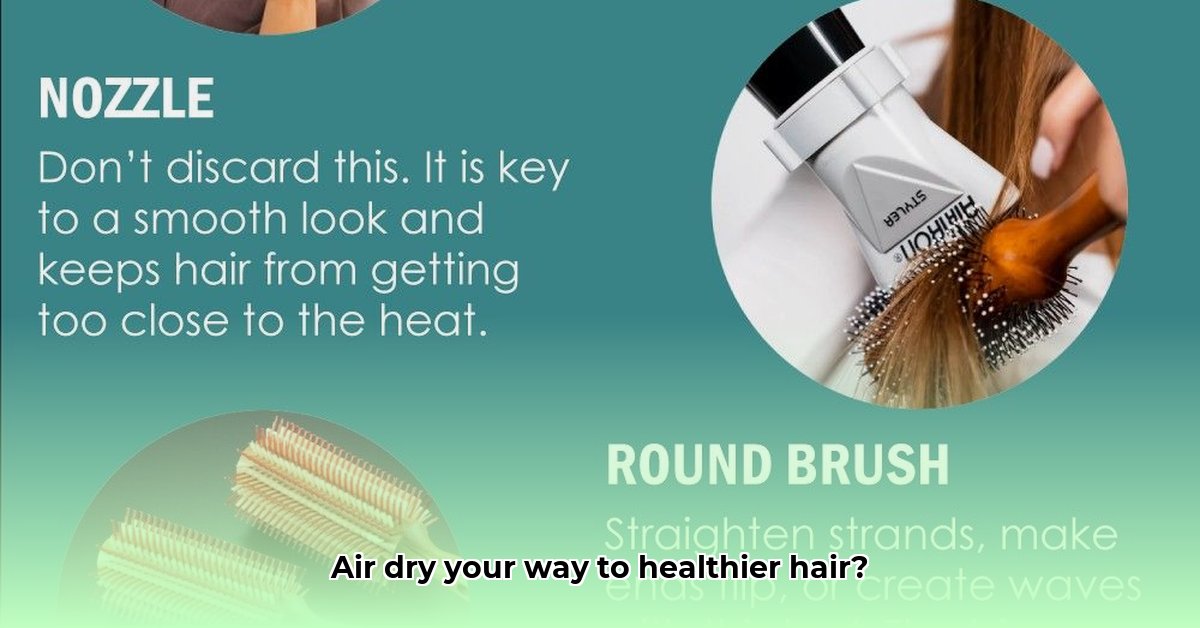
Combining Air Drying with Heat Styling (When Necessary)
For very thick or coarse hair, a low-heat blow-dry with a heat protectant spray can be used sparingly to finish styling. This should only be a supplementary technique, prioritized after sufficient air-drying.
Your Personalized Air-Drying Journey
Remember, finding the perfect air-drying routine is a journey of experimentation. This is very personalized to each person and their hair type. Be patient and adjust products and techniques to suit your unique hair needs. The result? Healthy, radiant hair that shines with natural beauty! Don't be afraid to experiment to discover which combinations work best for your hair. The key is finding what makes your hair happy and healthy.